The process of connecting your wired mouse
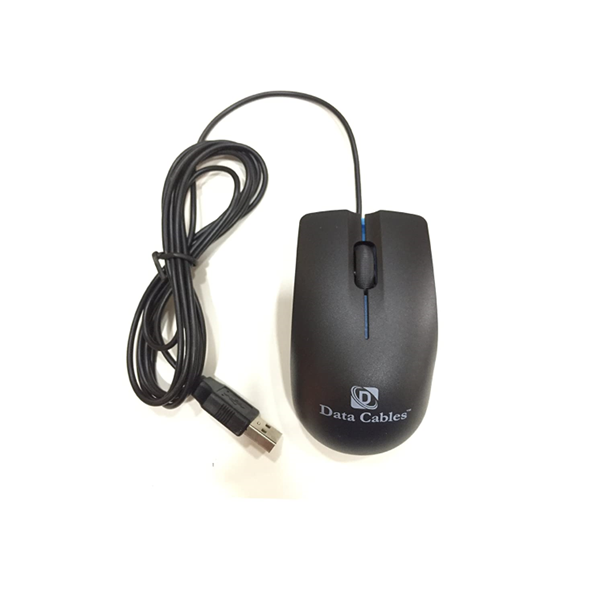
Before you can use a mouse with a cord, you must first plug it to your computer.
Connecting a wired mouse to your computer is a simple process.
Here’s a step-by-step guide
1. Prepare Your Mouse:
- Unpack the wired mouse from its packaging if it’s new.
- Check the cable for any damage or tangles, and ensure it’s long enough to reach your computer comfortably.
2. Identify the Mouse Port:
- Locate an available USB port on your computer. USB ports are rectangular-shaped and may be located on the front, back, or sides of your computer tower or on the sides of your laptop.
3. Plug in the Mouse:
- Insert the USB connector at the end of the mouse cable into the USB port on your computer. Make sure it’s inserted fully and securely.
4. Wait for Recognition:
- Your computer should automatically recognize the connected mouse. Depending on your operating system, you may hear a sound or see a notification indicating that a new device has been detected.
5. Test the Mouse:
- Move the mouse and verify that the cursor moves on the screen. Click the mouse buttons to ensure they register properly.
- If your mouse has additional features like a scroll wheel or side buttons, test those as well to make sure they function correctly.
6. Adjust Mouse Settings (Optional):
- Depending on your preferences, you may want to adjust the mouse settings on your computer. This can include adjusting pointer speed, button assignments, or enabling additional features.
- You can usually access mouse settings through the Control Panel (Windows) or System Preferences (macOS). Look for the “Mouse” or “Trackpad” settings.
7. Secure Cable (Optional):
- If desired, use cable ties or adhesive clips to secure the mouse cable along the edge of your desk or computer setup. This helps keep the cable tidy and prevents it from getting tangled or caught on objects.
8. Enjoy Using Your Mouse:
- Once connected and tested, your wired mouse is ready to use! Enjoy the precision and control it provides as you navigate your computer.
Note: If your mouse requires special drivers or software for full functionality, you may need to install them from a CD-ROM or download them from the manufacturer’s website. Follow the instructions provided with your mouse to install any required drivers or software.
Connecting a wired mouse is typically a plug-and-play process, requiring minimal setup or configuration. With just a few simple steps, you can start using your mouse to interact with your computer effectively.