
Quick Answer
To make a simple Excel spreadsheet, open a new workbook, add headers to organise your data, enter information in the cells, format for readability, and use basic formulas like SUM for calculations. Save your file with a clear name to find it later.
Many beginners feel unsure about how to start Excel, but creating a basic spreadsheet is straightforward and useful for personal and work tasks. This skill helps you manage information clearly and is valuable in many South African workplaces.
What Is a Spreadsheet and Why Use Excel?
A spreadsheet is a grid made of columns and rows where you put data into cells. Excel is the most popular software for this; it helps you arrange, calculate, and analyse data quickly. Whether you’re tracking expenses, making lists, or organising data for work, Excel’s simple tools make your data easier to manage.
For beginners in South Africa, knowing Excel basics can improve daily work tasks and make data handling easier. Excel is used in many office, retail, and small business roles, so it’s worth learning from the start.
Step 1: Open a New Workbook and Set Headers
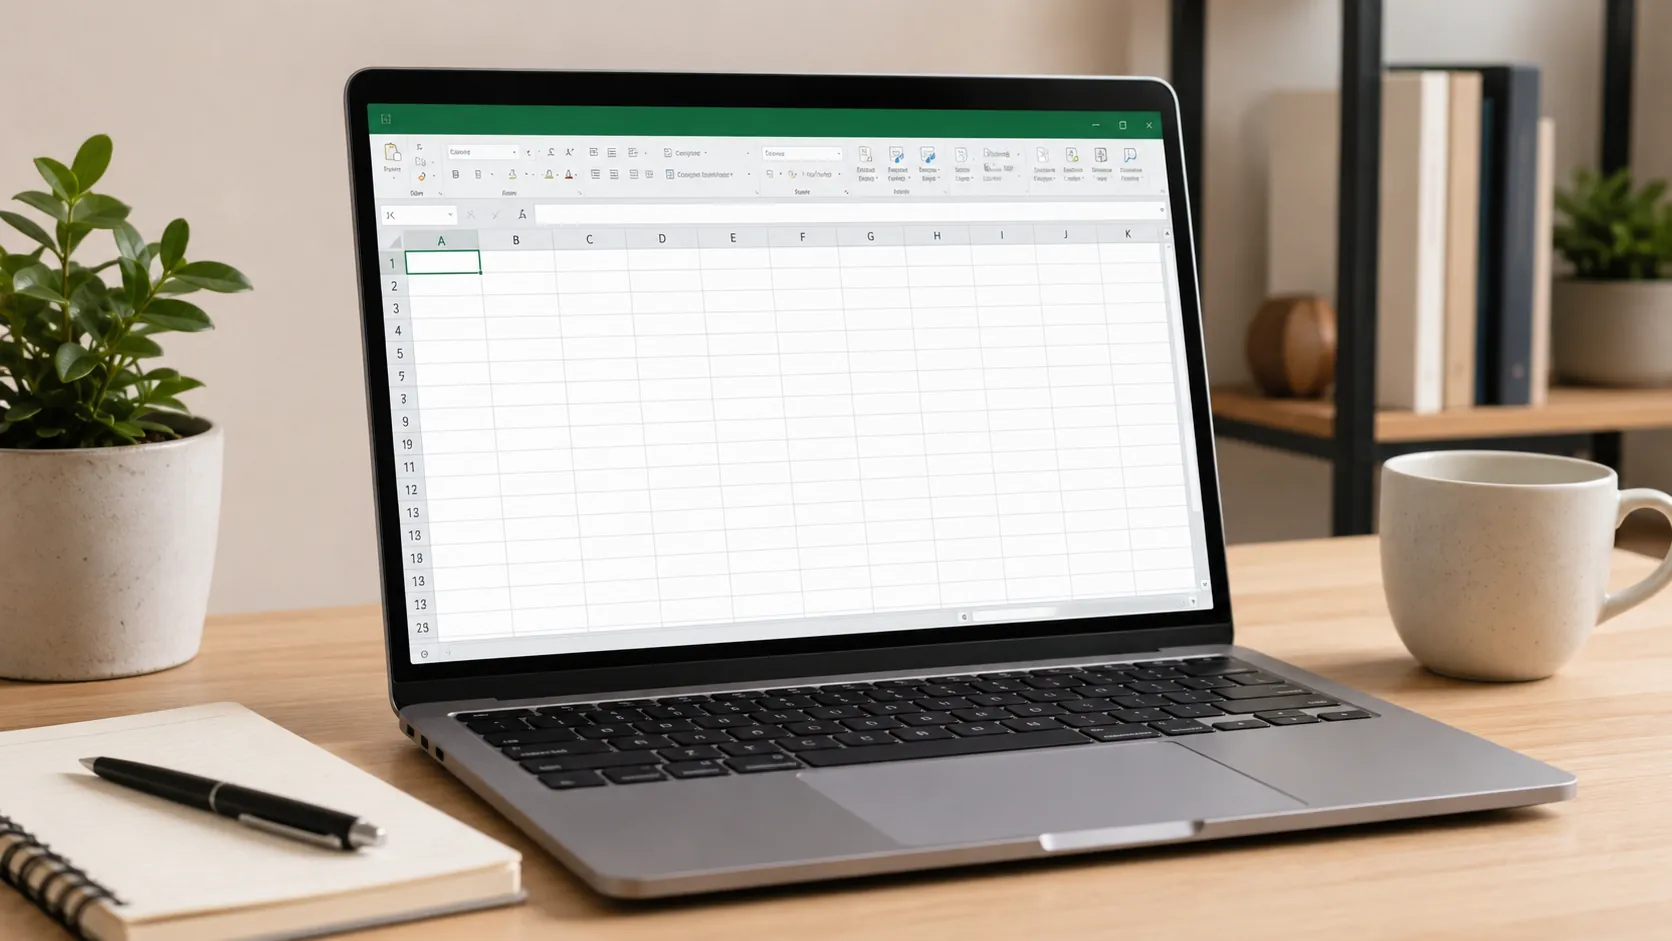
Open Microsoft Excel and click on ‘New Workbook’ to get a blank sheet. You will see empty boxes called cells, arranged in columns like A, B, C and rows like 1, 2, 3.
Think about the kind of data you want to track. For example, if you want to track monthly expenses, your columns could be Date, Description, Category, and Amount. Type these headers in the first row, starting from column A.
Step 2: Enter Your Data
Under each header, type your data clearly and consistently. Use numbers where needed (like for amounts), and text for descriptions or categories. Navigate between cells using the keyboard arrow keys, the Tab button, or your mouse.
Excel saves your input automatically when you click or move away from a cell, so you won’t lose your work if you move around.
Step 3: Format Your Spreadsheet for Clarity
Formatting makes your sheet easier to read. Highlight your headers and make the text bold or change the font colour to separate them from the data. You can also resize columns by dragging the edges of the column letters.
Use “wrap text” to keep long text visible without widening the column too much. Adding borders around cells or rows helps separate the information visually, making it simpler to scan.
Step 4: Use Simple Formulas to Calculate
To save time, use formulas like =SUM() to add up numbers automatically. For example, if your Amount column is from B2 to B10, click the cell below your last amount and type =SUM(B2:B10) then press Enter.
You can also use other beginner-friendly functions like AVERAGE, MIN, and MAX to get quick insights without manual math.
Common Beginner Mistakes to Avoid
- Not using clear headers, which makes it confusing to understand your data later.
- Putting too much information in one cell; keep data short and simple.
- Ignoring formatting tools, which can make your spreadsheet hard to read.
- Forgetting to save your work often—give your files clear names to find them easily.
Checklist for Creating Your Simple Spreadsheet
- Open a new Excel workbook
- Add headers for each column
- Enter your data below the headers
- Format headers with bold or colours
- Adjust column sizes and wrap text if necessary
- Use basic formulas like SUM to automate totals
- Save your file with a clear, descriptive name
Practising these steps will build your confidence and give you a useful tool for work or home.
If you want to learn more, check out the Free Excel Course with Certificate in South Africa. It’s perfect for beginners and will guide you through all the basics you need to know.