Key Digital Forensics Tools Every Beginner Should Know
If you’re just starting with computer forensics, knowing the right software can make the difference between a frustrating mess and a clear investigation. This guide breaks down popular digital forensics tools that beginners in South Africa should learn first, especially if you want hands-on skills from a free computer forensics fundamentals course with certificate in South Africa.
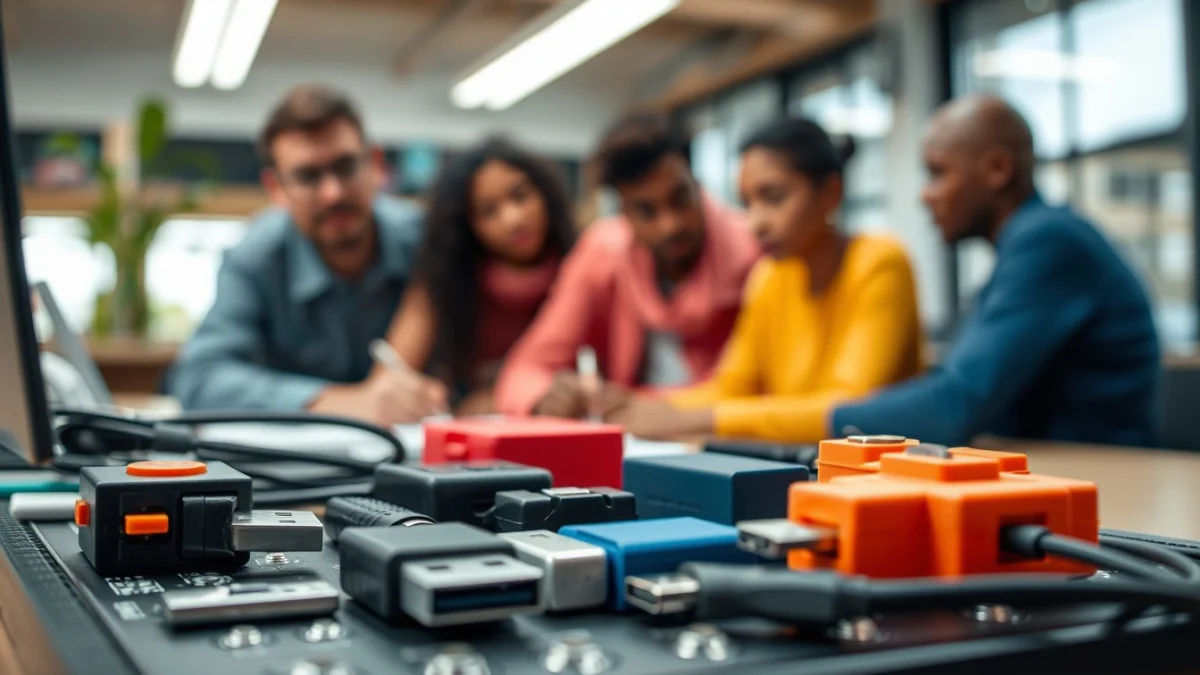
Many beginners jump straight to complex tools but soon get overwhelmed by jargon and too many features. Plus, missing simple steps can cause real damage — like corrupting evidence or overlooking key data. For example, a new learner might try to analyze a drive without using a write-blocker, unknowingly altering the data and invalidating the investigation. These practical traps are common and easy to avoid once you know what tools to trust and how to start using them carefully.
What to Know First: The Main Tools You’ll Meet
For beginners, it’s best to focus on tools that offer clear interfaces, solid documentation, and work well in South African cyber and workplace environments. Here are the top tools you’ll encounter in a free workplace computer forensics fundamentals course with certificate South Africa:
- FTK Imager: A lightweight tool for capturing forensic images of drives without changing data.
- Autopsy: An open source forensic platform for analyzing drives, recovering files, and reviewing evidence.
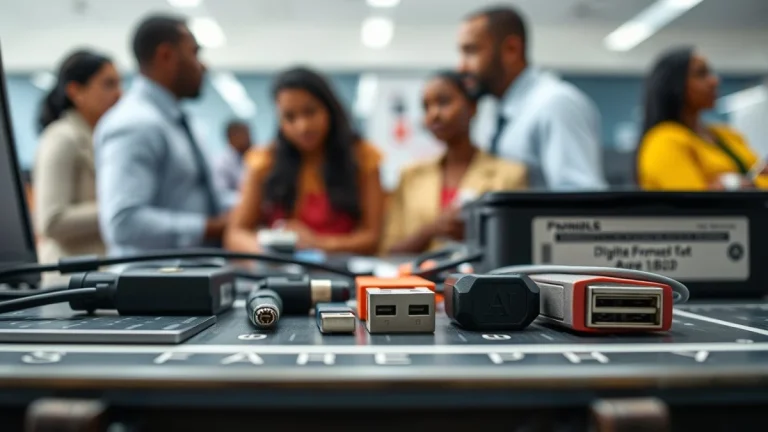
- Write-Blockers: Hardware or software devices that prevent any write operations during data acquisition, crucial for preserving evidence integrity.
- Command Line Utilities: Basic but powerful tools like the ‘dd’ command in Linux for imaging drives, or strings and grep for extracting data.
Core Features That Matter Most to Beginners
Don’t get distracted by every feature these tools offer—focus on these basic but crucial capabilities to build strong foundational skills first:
- Evidence Imaging: Being able to capture a bit-for-bit copy of storage devices without altering originals.
- Data Recovery: Tools that help recover deleted files or hidden artifacts.
- Metadata Analysis: Accessing file timestamps, access logs, and details to build investigation timelines.
- File System Understanding: Recognizing file system types like NTFS or FAT32, so analysis targets are precise.
- Basic Reporting: Exporting findings and logs clearly for later documentation and communication.
What Beginners Often Get Wrong and How to Avoid It
One of the biggest beginner mistakes is skipping the use of write-blockers during evidence acquisition. It might seem like a small step but imagine capturing a drive image and accidentally modifying timestamps or file content. This undermines the evidence’s credibility, especially in legal contexts in South Africa.
Another overlooked pitfall: not understanding the difference between cloning and imaging drives. Cloning copies data directly and can inadvertently alter metadata if not handled correctly. Imaging creates a forensic snapshot, preserving the original exactly. Stick to imaging for forensic work.
Lastly, beginners sometimes try to run full forensic analyses on infected or malware-laden systems without using isolated environments first. This can expose your work PC to risks and complicate later analysis.
Real-World Use Cases for Digital Forensics Tools
In South African workplaces, digital forensics tools come into play during cybercrime investigations like fraud, data breaches, or insider threats. For example, a basic scenario might be recovering deleted emails to track communication around a financial scam.
On a typical day, you might use FTK Imager to create a secure copy of a suspect’s hard drive, then open that copy in Autopsy to search for suspicious file activity, deleted documents, or hidden logs. The simplicity of these tools allows for quick turnaround times, which can be vital in time-sensitive cases.
Beginner Tips for Mastering Forensic Tools Quickly
- Always use write-blockers first. It’s the non-negotiable step to keep your evidence untouched.
- Start by imaging small drives. Practice on USB sticks or test drives before moving to bigger devices.
- Focus on metadata viewing early. Learning how to read file timestamps gives immediate insight into activities.
- Use the graphical interfaces first. Tools like Autopsy have user-friendly dashboards, easing understanding.
- Create lab-like test cases. Simulate deleting and recovering files so you see how these tools work in practice.
Practical Scenario: Investigating a Data Breach
Imagine your organisation suspects data theft. You receive a laptop. Your first move with forensic tools is to use FTK Imager to make a forensic image — no direct access to the suspect device. Next, you load the image in Autopsy to check file access history and recover deleted files that may have been trashed in a hurry.
This straightforward workflow lets you dig through evidence safely and efficiently, helping confirm or disprove suspicions without tampering with the original data.
Which Features Should You Learn to Use First?
| Feature | Why Learn First |
|---|---|
| Evidence imaging with FTK Imager | Protects original drives, foundation of forensic analysis |
| File browsing and metadata analysis in Autopsy | Used daily to find clues and build case timelines |
| Write-blocker setup | Prevents accidental data changes, crucial at every data acquisition |
| Basic command line tools | For flexible, fast data extraction and searching |